Inspiration Pin
I am not sure when I fell in love with paper mache. I don't remember doing much with it as a kid, but I was a camp counselor for one of my summer jobs after high school and I remember making a couple of memorable volcanoes with some campers. Last November I decided to make a pinata for my three year old for her birthday. I probably could have bought her one, but decided late Tuesday night that I was going to make her a festive turkey pinata that we could all whack around after dinner. Here is a picture of how that sad turkey turned out:

Yes, that is a square turkey. Since I decided to make this pinata at the very last minute, I was not able to find a balloon to use as a base for the paper mache. The only thing that I could find to use was a freezer size Ziploc bag. Strange, I know, but it worked and we had our first ever Thanksgiving pinata. Hopefully, it is the first of many.
So a few weeks ago, I was reading my new favorite blog, Lil Blue Boo and the author, Ashley, shared a tutorial on how to make a unicorn head using paper mache. The tutorial was wonderful and thorough as always, but I decided that I really didn't have the desire to make an animal head for our wall. A few days later, Jack came to me with a problem. He really wanted to dress up like King Tut and so we looked around and came up with this:

He was happy for a few days but kept asking for a real Egyptian crown. My mind went back to Ashley's unicorn head and I decided to see what I could come up with using paper mache. Thankfully my mother-in-law was here to help because I decided to try and make two different crowns.
Crown #1 King Tut

Supplies:
balloons
newspaper ripped into strips
table cover
paper mache- flour, water, and sugar
(the best paper mache recipe that I have found is over at Family Fun)

We did one big layer the first day and let it dry for 24 hours. I did a second layer to fix the shape and let that dry overnight as well. Once it felt good and hard, I popped the balloon and started covering the hat with construction paper that I cut into strips.

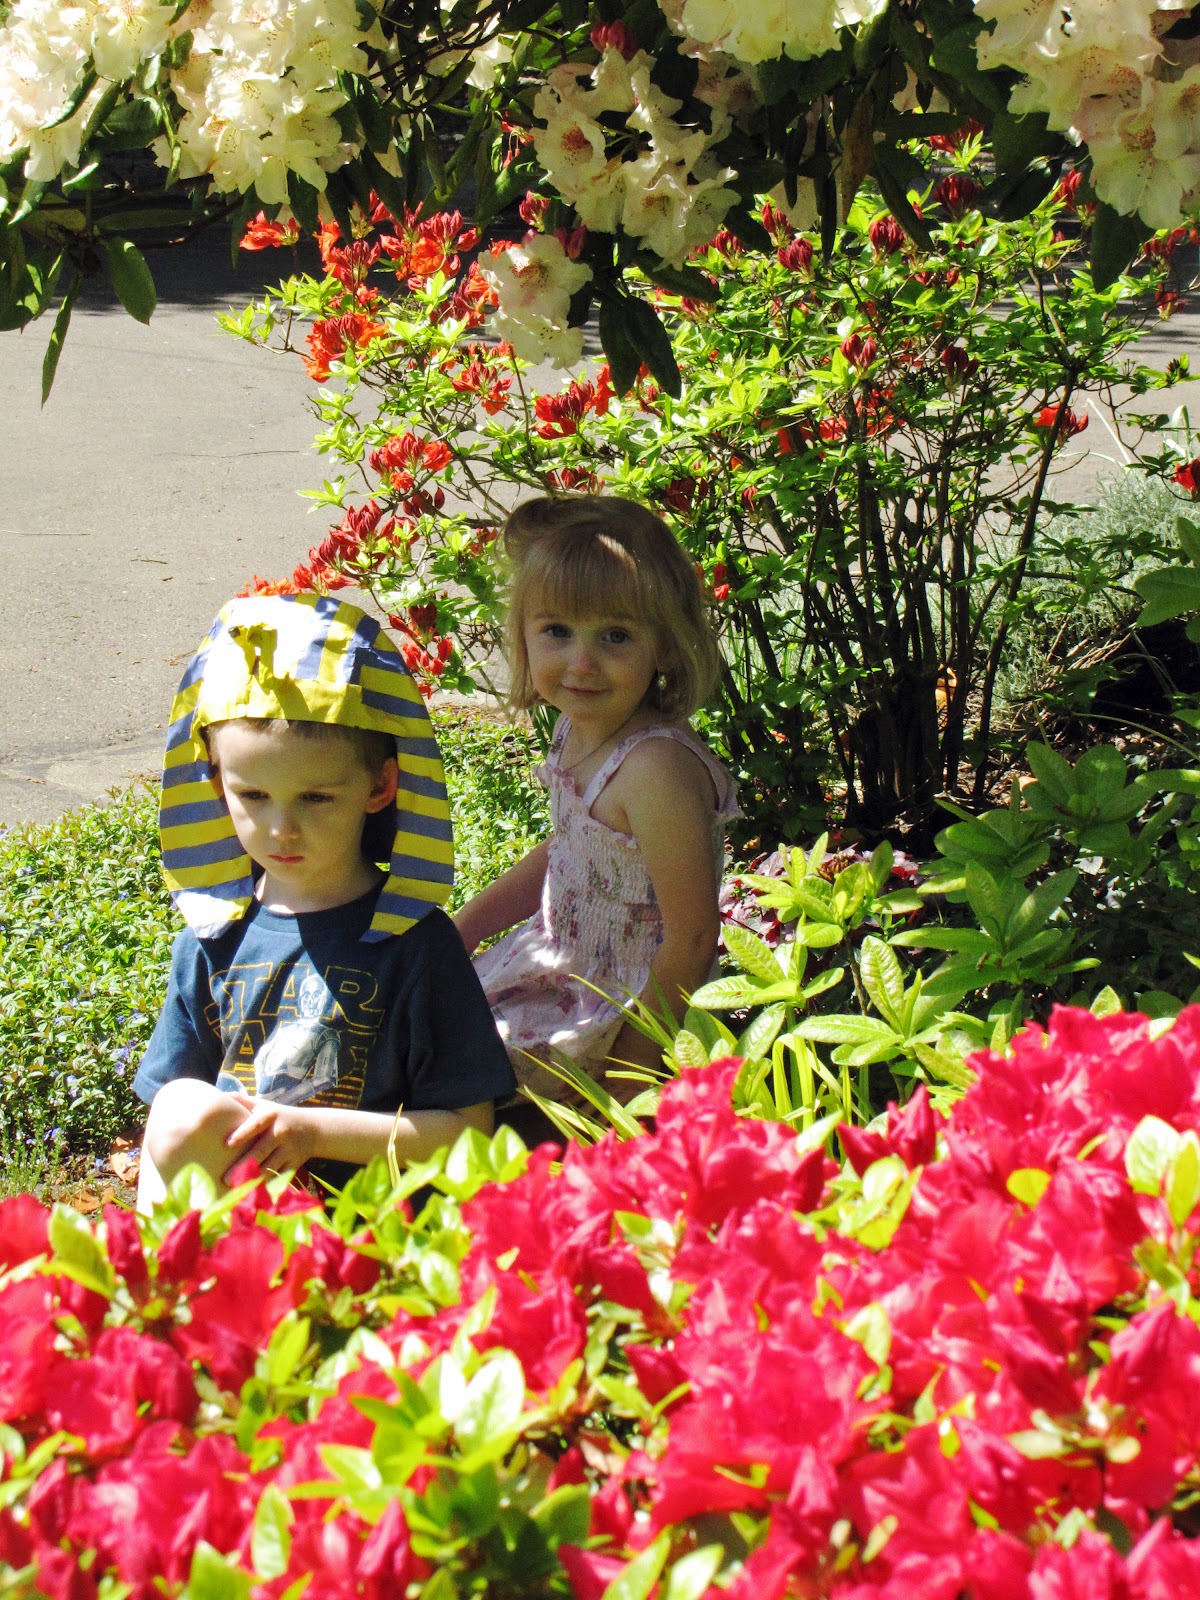
We sculpted a cobra and vulture out of newspaper and painted them once they had dried. I attached them to the front with one last piece of construction paper. Jack was pretty happy with the results.

Practicing his Mummy pose!

He spent the rest of the day wearing his crown and so I think it was a pretty big success.
Crown #2 The Blue War Crown
This one was a lot easier, and as a result I took a lot less pictures.

Once the paper mache was dry, I painted it blue and attached another cobra that I made out of newspaper. Pretty easy. Without that cobra and the yellow band on the bottom, it could have been a MegaMind blue head. Maybe we'll try that out for our next paper mache project.

oh my gosh mary! that is amazing! somehow i married into a family where all the ladies are way talented and here i am, i wouldn't have had a CLUE how to make an egyptian crown! way to go. jack looks sharp.
ReplyDelete